-
How to install a 24-port network patch panel
This video shows how to punch down 24 port patch panel (cat6 patch panel wiring) and also showing Live 15 U network rack mounted on wall equipped with d'link patch panel 24 port, network cable (cat 6 cable) manager and 24 port d'link network switch. So, you purchased all of your shielded solid copper Ethernet cable, shielded keystone jacks, termination tools, and are ready to get your installation started! Finally, a wired network to install your outdoor security cameras rather than relying upon potentially unreliable Wi-Fi. Did you. A patch panel is an essential component in networking, serving as a central point for connecting various network cables. Effective cable management is crucial for maintaining an o. Even as Wi-Fi 6E and Wi-Fi 7 push uplink bandwidth to 5G/10G and. F. This installation guide focuses on what a patch panel does, patch panel installation basics, and how to connect patch panel to switch while keeping cabling. Ubiquiti, Ubiquiti Networks, and the Ubiquiti U logo are trademarks or registered trademarks of Ubiquiti Inc. in the United States and in other countries. All other trademarks are the property of their respective owners.
[PDF Version]
-

How to install a climbing cable tray
Step-by-step on-site guide: learn how to plan, mark, support, and install cable trays correctly, from shop drawing approval to final checks. The Guardian Cable Climbing System includes top and bottom brackets, a ladder ca. more Learn how. Article Summary: A compliant cable tray installation requires a thorough understanding of NEC Article 392, proper structural support, and precise installation techniques. This guide covers the critical steps, from selecting the right electrical cable tray and performing accurate cable fill. This method statement describes a detailed procedure for properly installing cable trays and conduits for the Feeder System. Maximum strength for long span applications.
-
How to install cable trays for workers
Step-by-step on-site guide: learn how to plan, mark, support, and install cable trays correctly, from shop drawing approval to final checks. How about organizing your wiring with a cable tray system? Smart move. This guide covers the critical steps, from selecting the right electrical cable tray and performing accurate cable fill. The use and installation of cable trays is covered by legally enforceable OSHA regulations in 29 CFR 1910. 305(a)(3), or comparable standards promulgated by States operating OSHA-approved State plans. more. Cable tray systems are designed for easy installation and to accommodate power, communications, and signal cabling across a variety of applications. Qualified field personnel working to a.
-
How to install the cable tray beam bend
The fittings can fastened to the cable tray rail either with double clamps of type DOP A2 or with truss-head bolts of type FRS and combination nuts. The exceptions to this are vertical bends, adjustable bend elements and fittings with a side height of 35 mm. These fittings can only be screwed on. Beam bracket PK1 is attached to the lower flange of an I beam. These guidelines are not intended to cover all details or variations in cable ladder and cable tray. en completely installed, without damage either to conductors or structural system use maintain spacing or to keep cables in place when the tray is ect the minimum bend ra-dius for cables as they exit the bottom of the cable tray. A rung spacing of 6 to 9 inches (150 to 230 mm) is preferable when. Hubbell's NEXTFRAME® Ladder Tray is the effective and widely used cable runway that supports and delivers bundles of cable between cabinets, racks, and closets, along walls, and suspended from ceilings. Cable ladder systems and cable tray systems shall be manufactured in accordance with BS EN 61537, channel support.
[PDF Version]
-
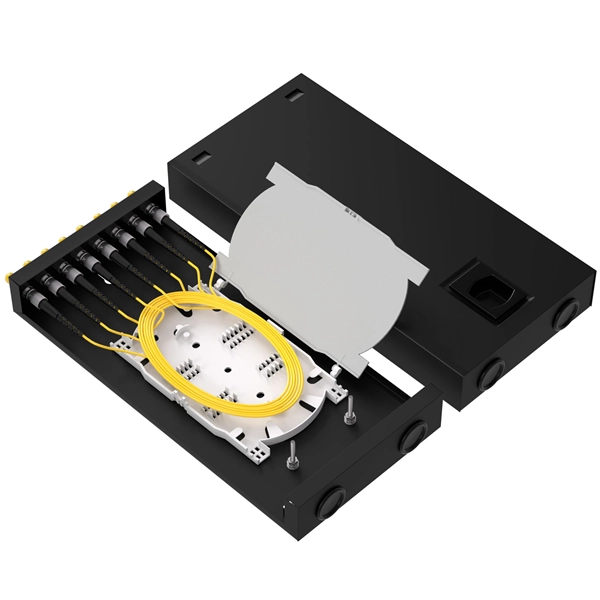
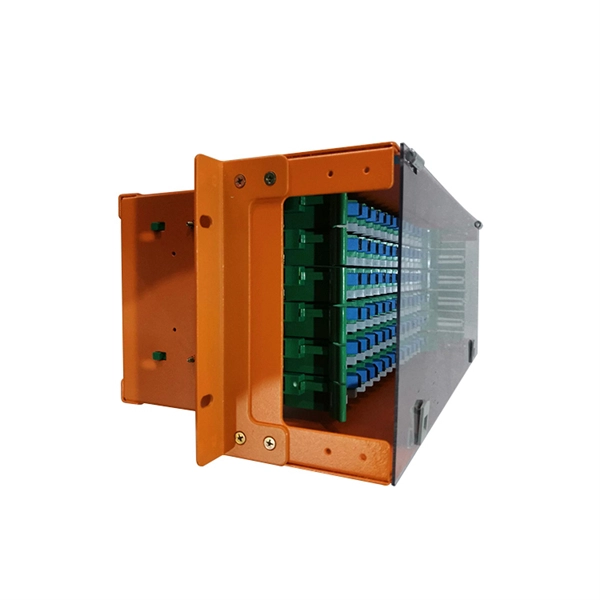
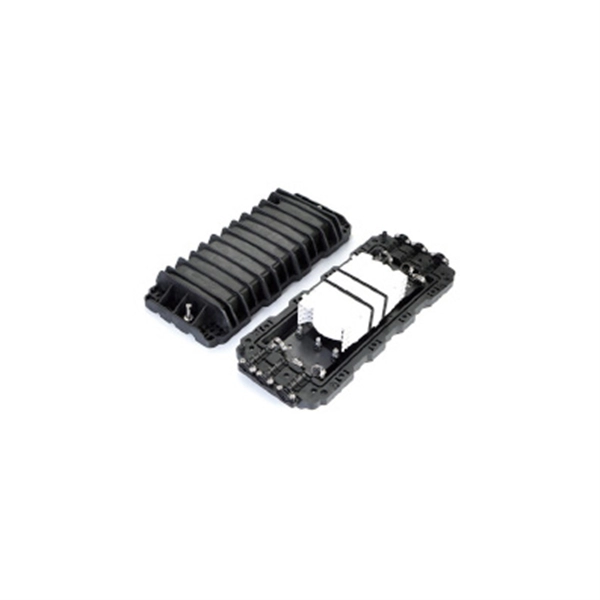
How to install a long fiber optic panel
The process involves a combination of national infrastructure, local engineering, and property-level setup. In this guide, we'll break down the fiber installation process from start to finish and explain key components such as fiber cabinets, flower pods, ducting, and ONT setup. Fiber transmits data using light signals through glass strands, delivering faster speeds and lower latency than cable or DSL connections that rely on. Mastering fiber optic installation is key. Discover the. How long does it take for fiber internet to be installed if you are a new customer? For new AT&T Fiber customers, installation will require a technician to come to your home. You can expect the visit to take about four to six hours. Follow our video and upgrade your cabling system today! The FHD series offers diverse fiber patch panels, providing faster, easier, and more efficient.
[PDF Version]
-
How to install the crossbar of the distribution box
Pull the house wires through the center of crossbar (B). Place crossbar (B) against the junction box so that mounting screws (A) are aligned with the hole locations on fixture's backplate (F). Secure crossbar (B) to the junciton box by securely tightening the mounting. A lighting crossbar, often called a mounting strap or mounting bracket, is a small, metallic component that serves as the foundational link between a light fixture and the electrical junction box. Covers wiring, placement, standards, and expert tips for a compliant setup. By understanding the mechanics of this simple bracket, you empower yourself to tackle almost any ceiling fixture installation with confidence and. This manual is for electronic distribution only and is designed to provide you with the most current information on the Los Angeles Department of Water and Power's (Department) service equipment and installation requirements. If you have any questions regarding the product or installation, c ntact Cooper Lighting Customer Service at 1-800-573-3600.
[PDF Version]